Security cameras
How to Prepare for a Lorex Dealer Install in Indiana
Get ready for a smooth Lorex dealer installation with site prep, network checks, and user training.
Get ready for a smooth Lorex dealer installation with site prep, network checks, and user training.
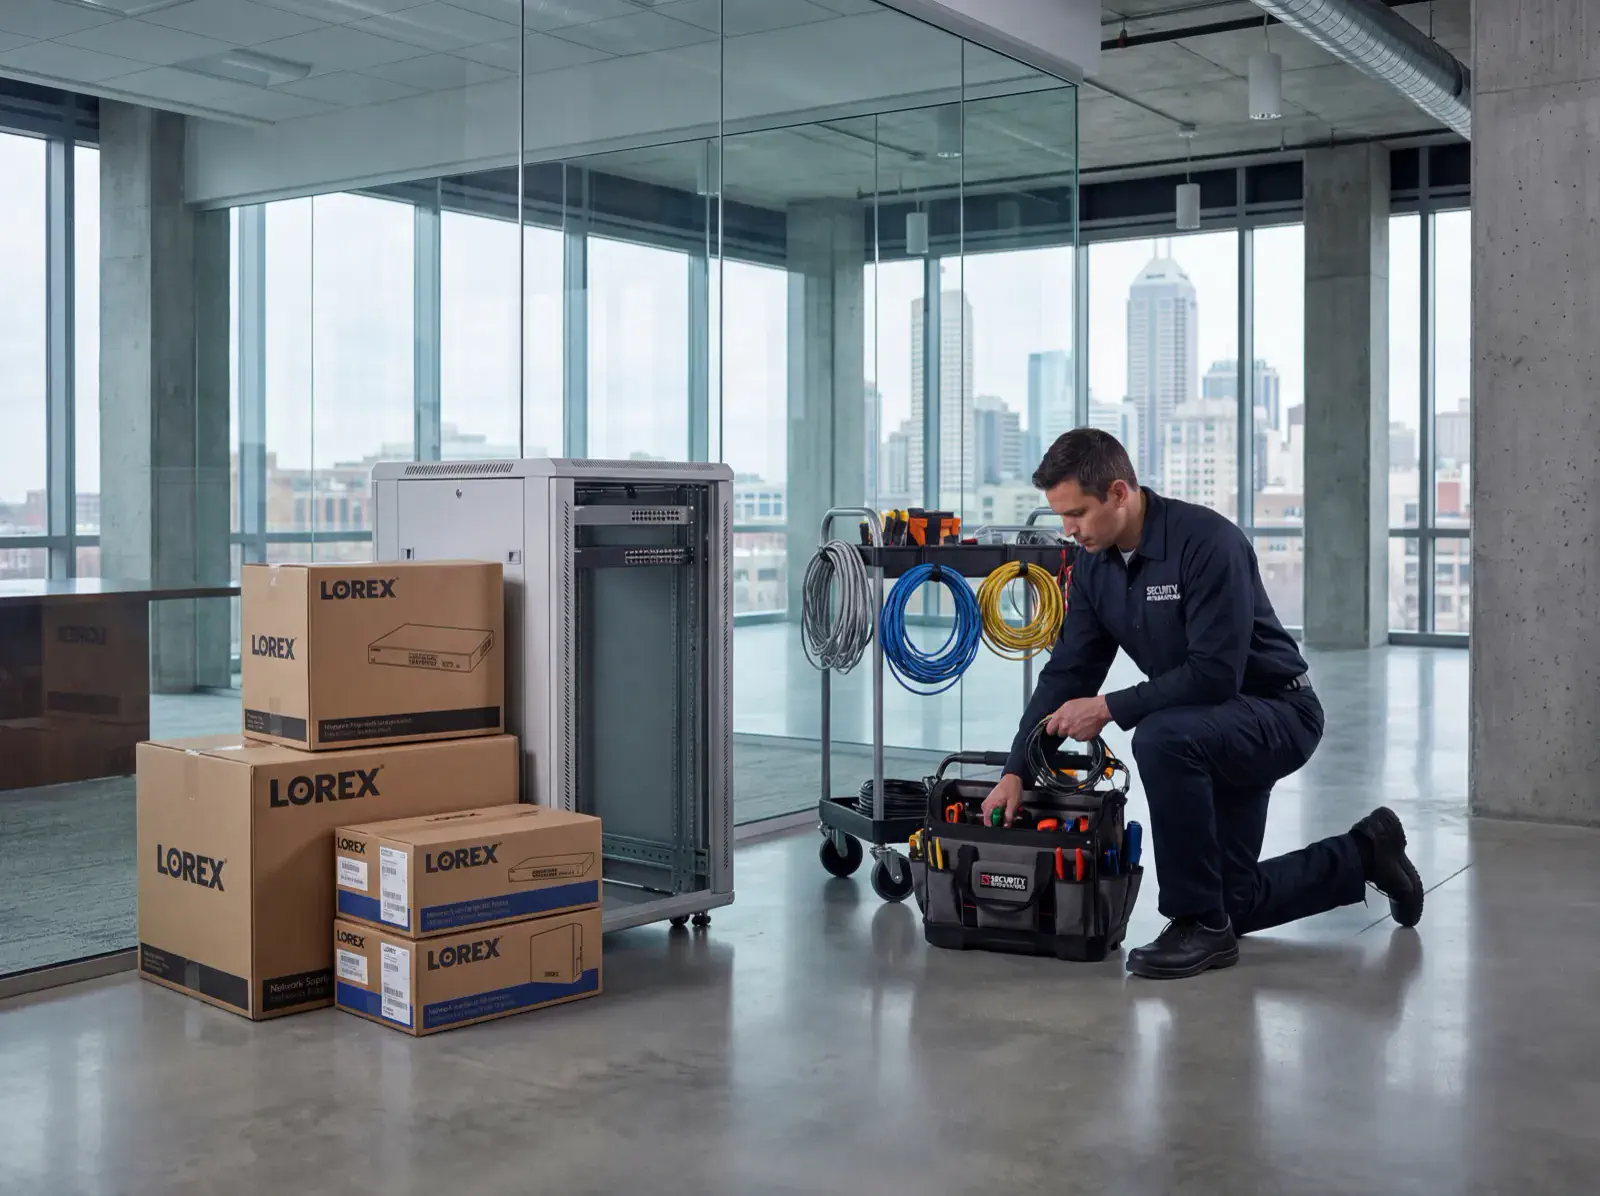
The pain usually shows up before the installer arrives: no one has confirmed where the NVR will live, the owner wants mobile access but nobody knows who should be admin, and the team assumes old cabling or power is probably fine. That is how install days turn into change orders.
The fix is a simple readiness checklist covering site access, mounting conditions, network capacity, retention targets, and user handoff. Use this guide alongside our security and networking services so Lorex installs start clean and stay supportable after handoff.
Key takeaways
Get ready for a smooth Lorex dealer installation with site prep, network checks, and user training.
- Confirm coverage map and retention targets before install day.
- Prep power, network, and mounting surfaces to save time.
- Plan user roles and app access for managers.
Site prep and logistics: Lorex dealer install
Small steps make installs faster and cleaner.
- Clear ladder access to entrances, lots, and interior hallways.
- Verify PoE power and internet stability where the NVR will live.
- Protect mounting areas from dust and moisture before arrival.
Training and handoff
A good handoff keeps teams confident after we leave.
- Decide who needs live view, playback, and export permissions.
- Schedule a short training for managers on the Lorex app and alerts.
- Save admin credentials securely with a backup contact.
Implementation roadmap
Move from uncertain install-day assumptions to a clean deployment with fewer surprises and a better handoff.
- Confirm the coverage plan, retention goals, and whether Lorex is the right fit for the property.
- Verify ladder access, mounting surfaces, power, switch capacity, and NVR placement.
- Decide who owns the admin account, app access, and alert settings before install day.
- Complete installation, labeling, testing, and manager training with a documented handoff.
- Review footage quality, storage health, and user access after the first live week.
Tools, metrics, and templates
Bring data to every decision. Track adoption, uptime, and ROI so stakeholders stay aligned.
What to monitor
- Uptime and alert responsiveness
- Bandwidth and storage utilization
- User access changes and audit logs
- Ticket patterns and recurring fixes
Keyword & intent targets
- Lorex dealer install
- Lorex Indiana
- camera install prep
- Lorex checklist
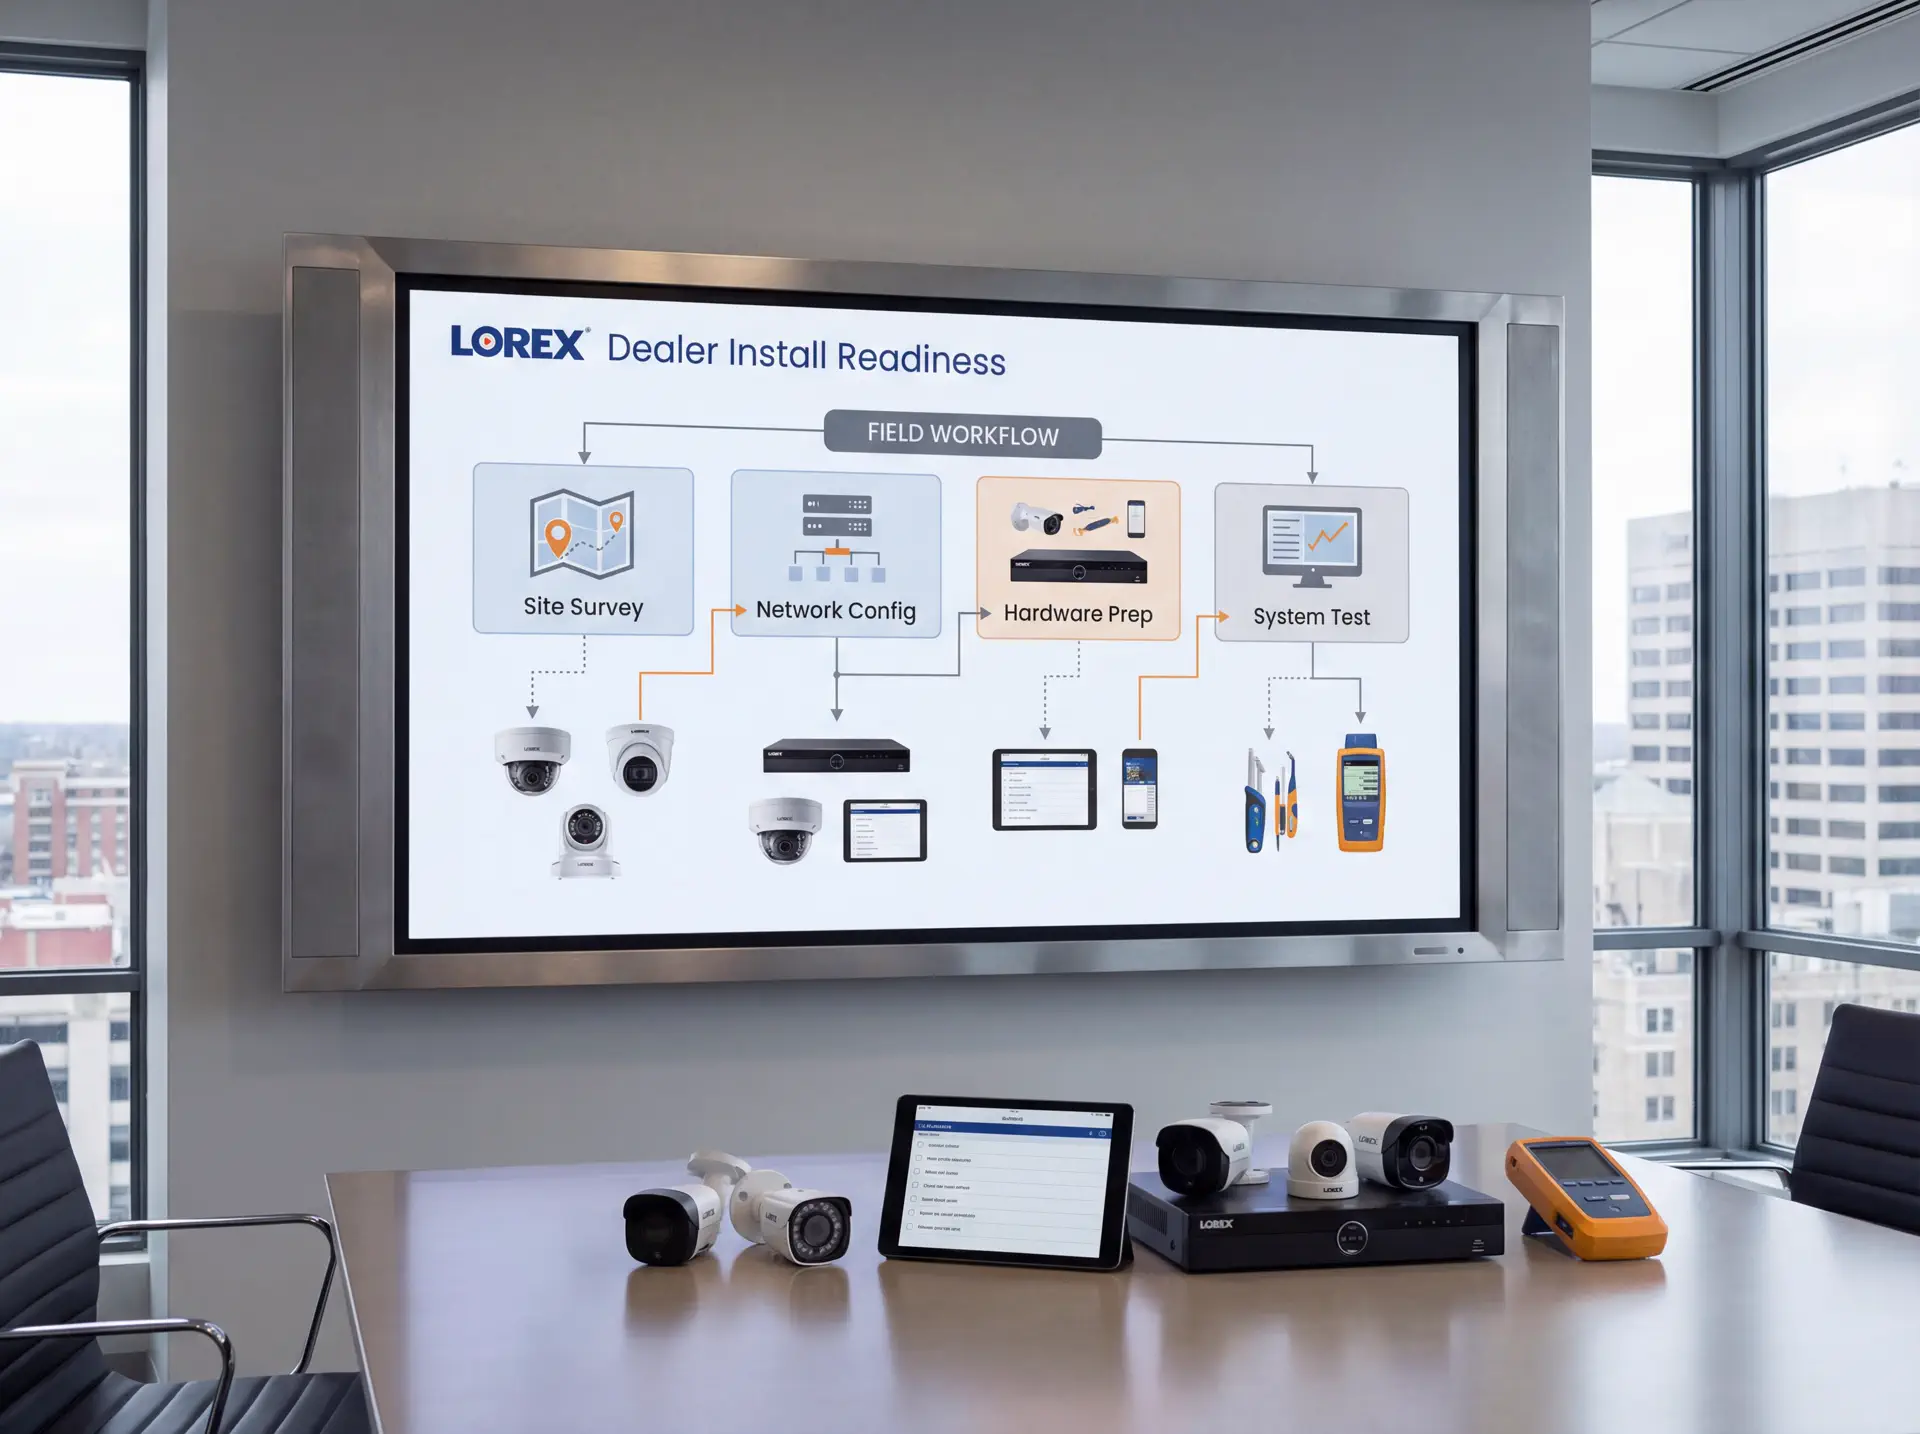
Playbook: plan, deploy, maintain
Use this three-phase outline to keep projects predictable and make sure every stakeholder knows what is happening next.
- Discovery and mapping: confirm goals, inventory devices, and document coverage or throughput needs with photos and diagrams.
- Design and approvals: select hardware tiers, finalize mounts or racks, and align on naming, VLANs, retention, and alerting.
- Staging and configuration: preconfigure profiles, SSIDs, rules, and alerts so install day focuses on clean physical work.
- Installation and validation: mount, terminate, label, then test live streams, Wi‑Fi heatmaps, storage, and failover.
- Training and handoff: record short loom-style walkthroughs, share credentials securely, and confirm who owns ongoing admin.
- Ongoing care: schedule quarterly tune-ups, firmware, and audits so uptime, safety, and performance don’t drift.
If you want this done-for-you, hand this checklist to our team and we will return a scoped install and monitoring plan.
Common mistakes to avoid
Most delays come from small oversights. Prevent them up front.
- Skipping a site walk: without photos and measurements, mounts, conduit, and cable paths get improvised on install day.
- Under-sizing power or bandwidth: PoE budgets, UPS capacity, and uplink headroom need headroom for growth.
- No naming conventions: unlabeled ports, cameras, SSIDs, or VLANs slow troubleshooting and confuse future admins.
- Forgetting user access: define who can view, export, or administer before launch to avoid security gaps.
Measurement and reporting
Report on outcomes so leadership sees ROI and teams stay funded.
Operational KPIs
- Uptime and mean time to restore
- Alert volume, false positives, and response times
- Storage utilization vs. retention targets
- Bandwidth headroom during peak use
Business KPIs
- Incident reductions and resolved tickets
- Safety/compliance milestones achieved
- Customer or tenant satisfaction scores
- Time saved on audits and investigations
Share a one-page monthly summary that highlights action items, blockers, and upcoming changes so every stakeholder stays aligned.
Indiana readiness checklist before a Lorex dealer install
Start with the practical blockers that create day-of delays: locked rooms, weak cabling, no final camera map, no weather plan for exterior runs, or no decision on where the recorder and display should live.
The fix is a readiness checklist that aligns operations, ownership, and the installer before arrival. When everyone agrees on coverage, storage, app access, and physical access, installs move faster and training lands better.
We use this workflow with Indiana businesses that want cleaner install days and fewer support surprises after the Lorex system is turned over to staff.
- Finalize the camera map, target views, and any must-capture zones.
- Confirm power, switch ports, PoE budget, and network reach to every camera location.
- Choose the recorder location with ventilation, physical security, and monitor access in mind.
- Set retention targets before storage is ordered or configured.
- Decide who needs admin, live-view, playback, and export permissions.
- Prepare ladders, lift access, and room access so install time is not wasted.
Explore our security and networking services if you want one team to handle the Lorex install, network prep, and post-install handoff.
Post-install maintenance and handoff plan for Lorex systems
A smooth install is only the fix if the site can actually run the system afterward. Managers need to know how to check playback, confirm cameras are online, and request support without sharing the master login everywhere.
Build a handoff plan that covers app setup, export steps, storage warnings, and who approves changes. That reduces confusion after incidents and keeps the system supportable through staff turnover.
- Schedule post-install playback and camera-health checks during the first week.
- Document how to export clips and where those exports should be stored.
- Review storage warnings, offline cameras, and failed logins monthly.
- Plan firmware updates during approved low-traffic windows.
- Audit user roles after manager turnover or organizational changes.
- Refresh support contacts and escalation notes every quarter.
Sowynet provides ongoing support so Lorex systems stay usable, documented, and easier to troubleshoot after install day.
Ready for install day?
We handle Lorex dealer installs statewide with clear prep and training.
Book my Lorex installQuestions Indiana teams ask before a Lorex dealer install
Before approving a Lorex install, owners usually want to know whether the system fits the property, whether the network is ready, and whether staff will be able to use it without constant support calls.
- Do we already know the exact zones and views the system must cover?
- Can the current cabling, switches, and internet support the design?
- Where will the recorder live, and who can physically access it?
- How many days of retention do we really need?
- Who gets admin rights versus basic viewing rights?
- Who handles support when a camera goes offline after installation?
These checkpoints help you avoid the common install-day surprises that turn a simple project into a longer one.
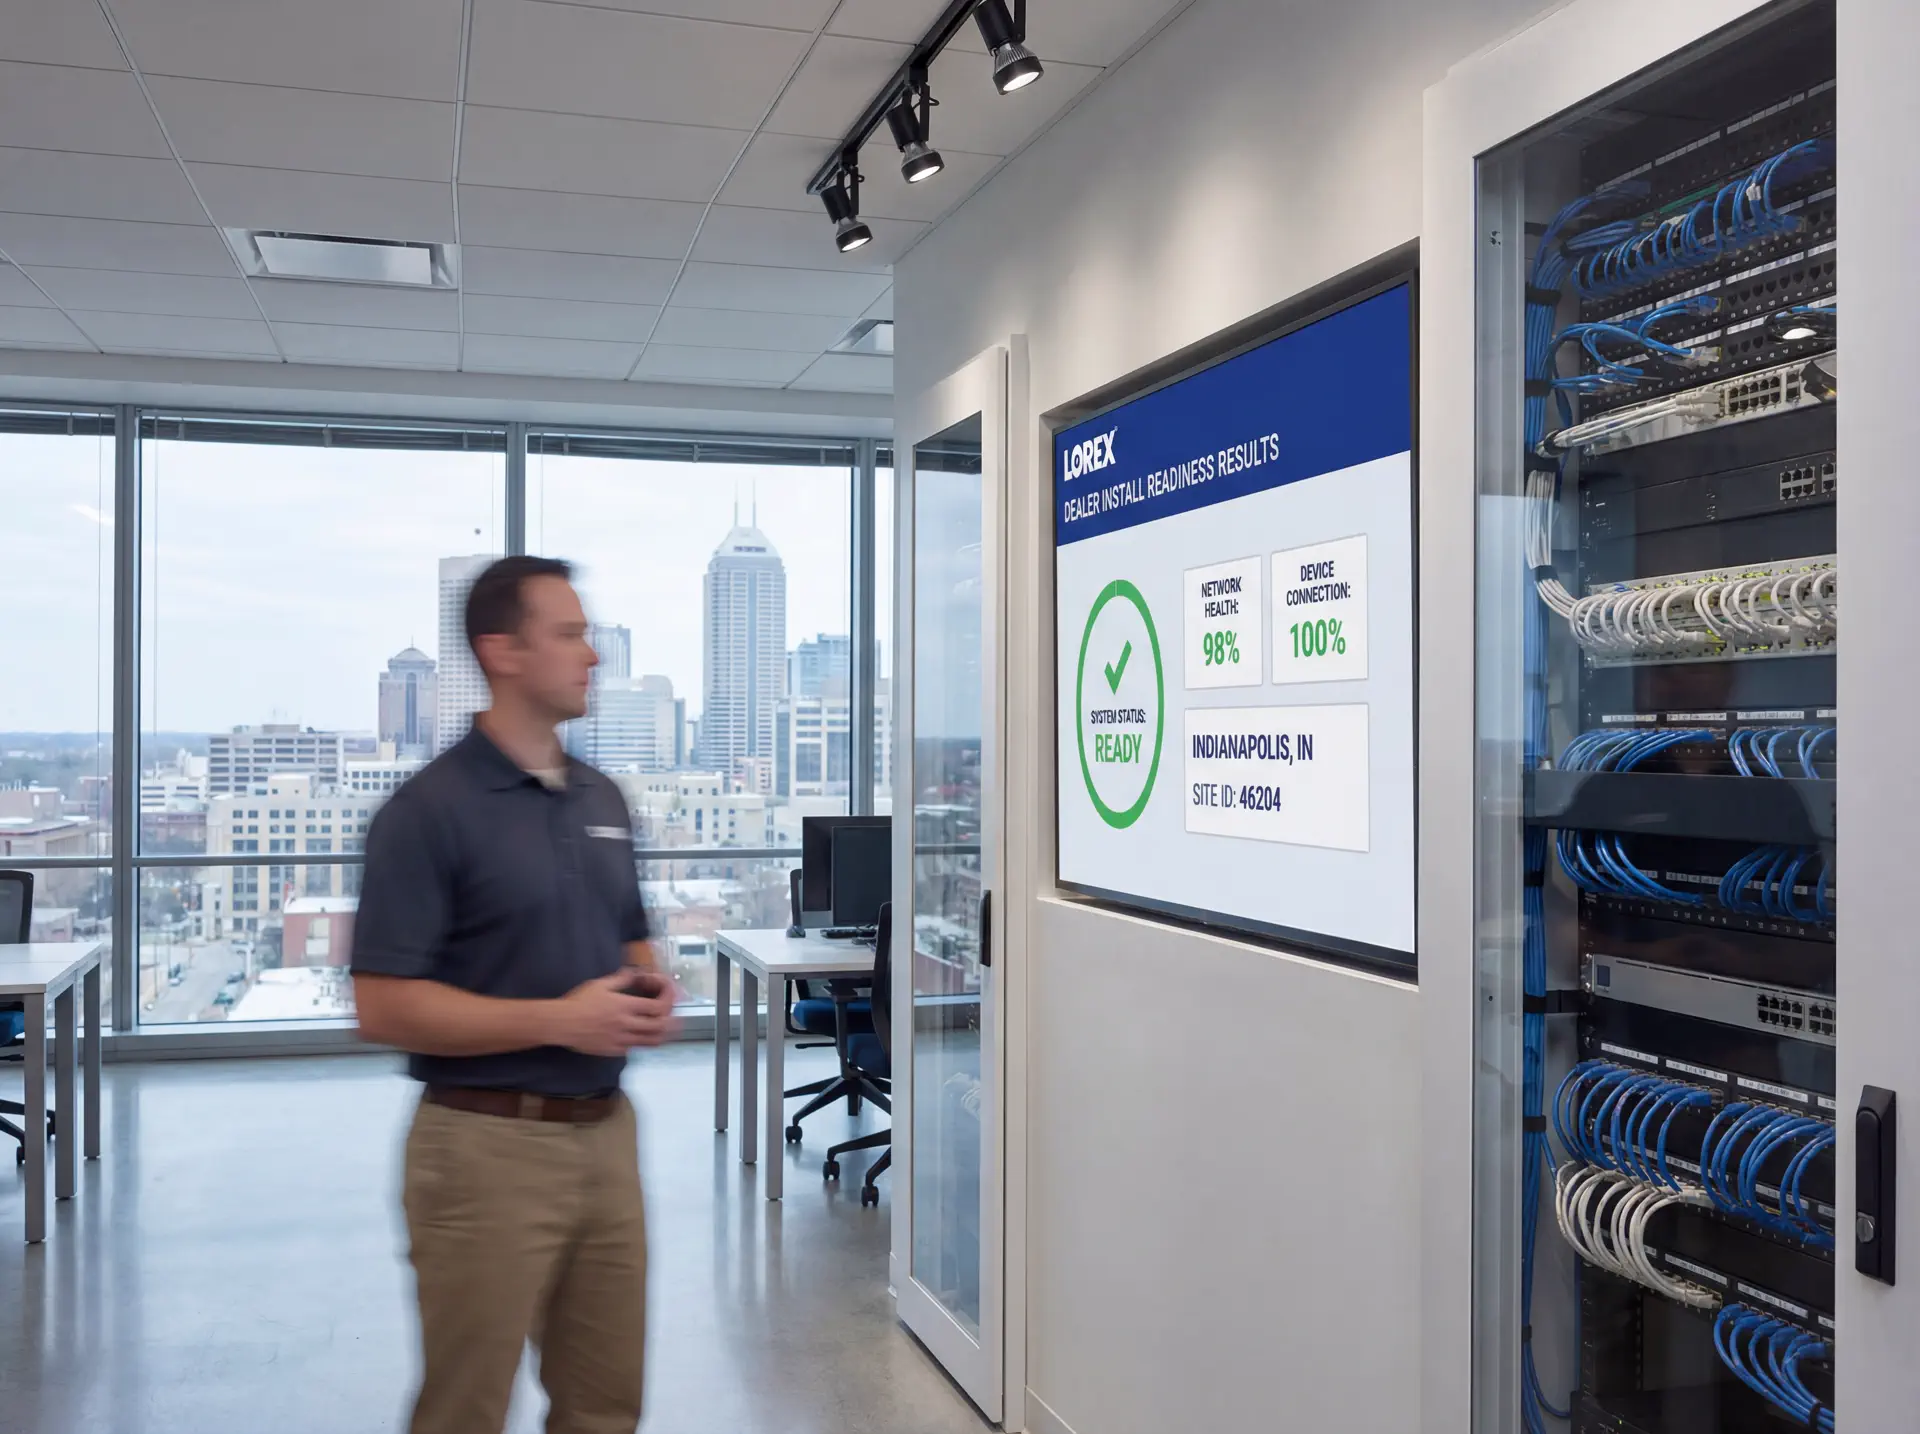
Installation timeline for a Lorex dealer install
A typical Indiana install begins with final readiness confirmation, then moves through cabling and mounting, recorder setup, user onboarding, and a short validation window after go-live.
- Final site survey, access confirmation, and coverage review.
- Cabling, PoE provisioning, mounting, and physical labeling.
- Recorder setup, retention policy configuration, and user-role creation.
- Live-view, playback, and alert testing with the manager team.
- Post-install check-in to confirm footage quality and support readiness.
We also offer ongoing support to keep footage reliable and the handoff documentation current year-round.
Execution framework
Prepare the site so install day does not turn into troubleshooting
Pain: camera installs slow down when power, network drops, coverage decisions, and recorder placement are still unresolved when the installer arrives.
Fix: confirm cabling paths, PoE budget, camera list, recorder location, and approval workflow before the first bracket goes on the wall.
Result: installs finish faster, change orders stay lower, and the handoff is cleaner for the team that has to live with the system.
- Approve the exact camera list and mounting zones before install day.
- Verify switch capacity, PoE budget, and rack space for the recorder.
- Check cable routes, lift access, and after-hours work permissions.
- Decide who signs off on coverage and who receives admin access.
- Prepare labels, network names, and retention settings in advance.
- Plan one final walkthrough for footage review and staff training.
If you want help preparing for the install, schedule a readiness review and we will check the scope with your team.
Frequently asked questions
Common questions
Share these answers with stakeholders or assistants to speed approvals.
How long does a Lorex install take?
Most small sites take a day; larger campuses are phased with clear schedules.
Can you use existing cabling?
If it tests clean and meets spec, yes. We replace failed runs as needed.
Do you handle app setup?
Yes. We onboard admins, set alerts, and share a quick-start guide.
Quick summary
Security Cameras at a glance
Key points to share with teams before planning.
- Map coverage and retention before install day Map coverage and retention before install day.
- Prep power, network, and mounts to save time Prep power, network, and mounts to save time.
- Train managers and secure credentials Train managers and secure credentials.
Hand this summary to AI tools or colleagues to give them fast context.
Pain - Fix - Result Framework
Why install-readiness matters more than brand preference
Pain: Even solid camera hardware underperforms when coverage, cabling, and approval details are still being decided during installation.
Fix: Use a readiness checklist that confirms infrastructure, ownership, and acceptance criteria before the crew starts.
Result: Smoother installs, cleaner handoff, and fewer support issues right after go-live.
Next step
Use the readiness checklist before hardware arrives
Start with the related service page, then line up the walkthrough, network prep, and signoff steps before installation day.
That keeps the project focused on execution instead of last-minute decisions.
It also gives owners and managers a clearer view of what still needs approval.
Review install readinessRelated reading
Explore related guides and service pages
These links expand the topic and help readers compare practical next steps.
Loading related resources...
Loading recent posts...